Are you tired of losing your keys, bags, or other valuable belongings? Say goodbye to those worries with our step-by-step guide to creating your very own Enhanced AirTag! This innovative device utilizes WiFi technology to provide extended-range coverage and detailed tracking data, all at an affordable price point.
Materials Required:
- IndusBoard Coin: 1 unit – This compact board features built-in Wi-Fi and necessary sensors, making it perfect for our AirTag project.
- 3.3V Rechargeable Battery: 1 unit – Provides the necessary power for the device.
- USB to UFL Antenna Cable: 1 unit – Enhances WiFi range and accuracy.

Step-by-step Guide to Building AirTag using IndusBoard
Step 1: Setting Up the Hardware
- Connect the 3.3V rechargeable battery to the IndusBoard Coin. Ensure the positive (red) and negative (black) terminals are properly aligned.
- Attach the USB to UFL antenna cable to the UFL antenna connector on the IndusBoard Coin. This will enhance the WiFi range and accuracy of your AirTag.
Step 2: Configuring the Software
- Open the Arduino IDE on your computer and load the provided code for the Enhanced AirTag project.
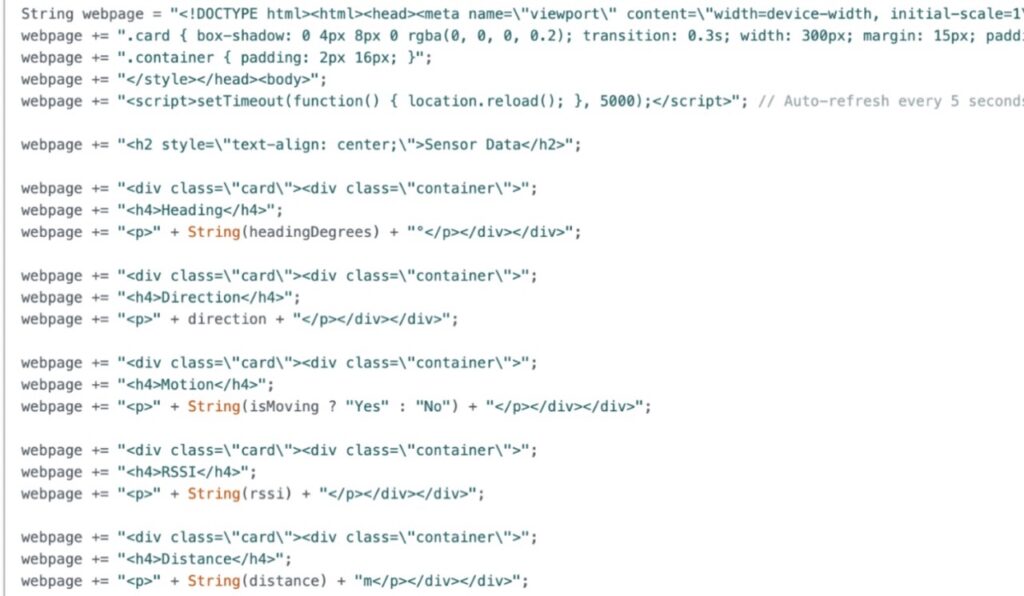
- Configure the SSID and password for your phone’s hotspot in the code. This will allow you to access the device’s user interface (UI) for tracking purposes.
- Implement data monitoring from the magnetometer accelerometer to capture movement, motion tracking, and direction information.
- Create a web server page in the code to update real-time tracking data. Additionally, include a function to check WiFi connectivity with the device for seamless connection.

Step 3: Uploading the Code
- Connect the IndusBoard Coin to your computer using a USB cable.
- Upload the configured code to the device using the Arduino IDE.
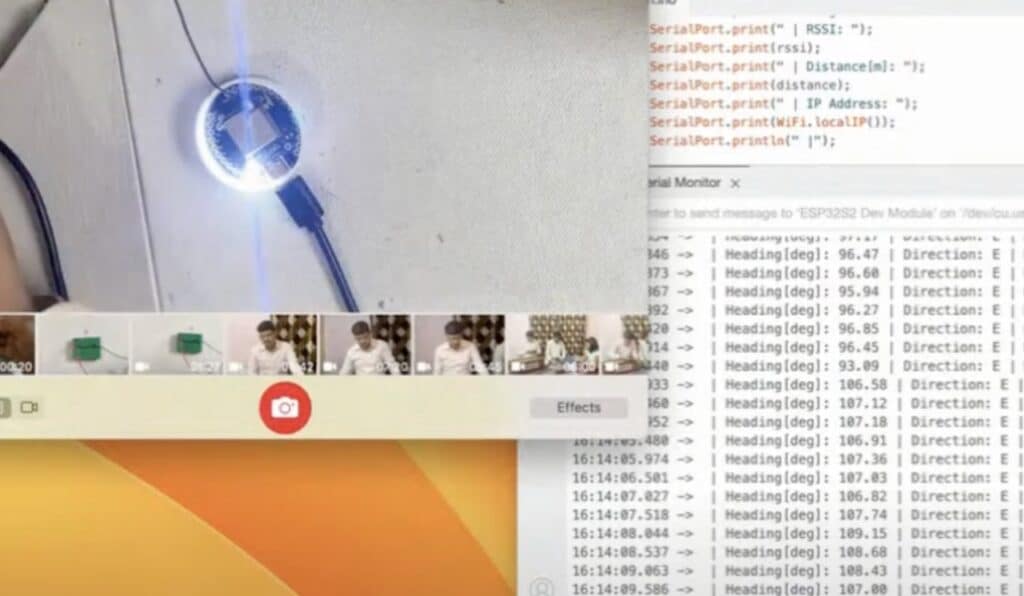
- Monitor the serial output in the Arduino IDE to ensure the code is uploaded successfully and check the connection status.

Step 4: Testing the Device
- Disconnect the USB cable and connect the 3.3V rechargeable battery to the IndusBoard Coin.
- Monitor the serial output for the device to connect to your phone’s WiFi hotspot. Note down the IP address displayed in the serial monitor.
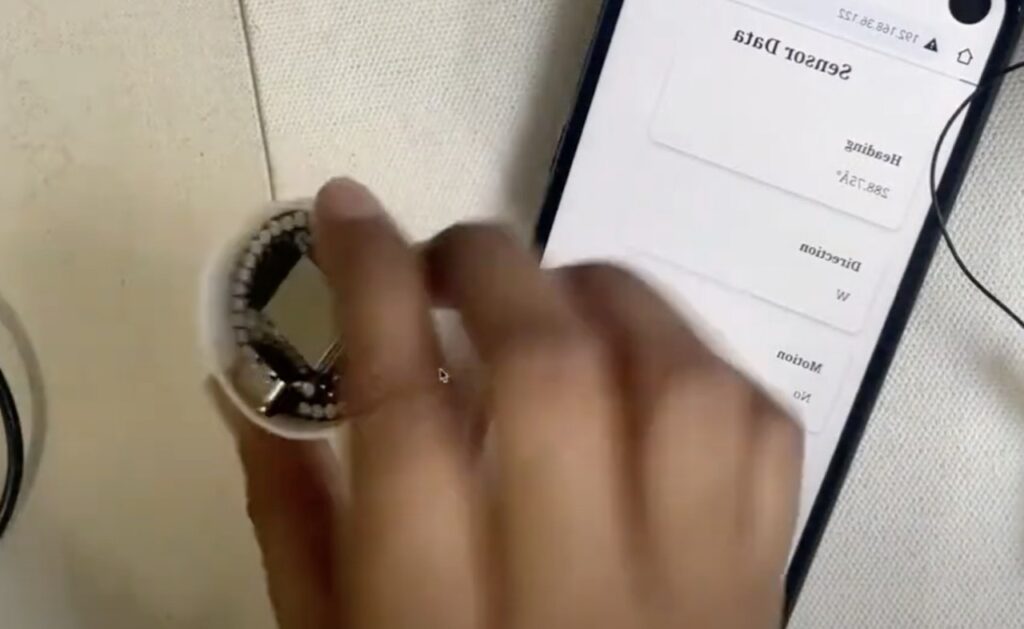
- Access the device’s web server through your phone’s browser using the IP address noted earlier.
- Explore the web interface to view real-time tracking data, including direction, distance, and movement.
Step 5: Fine-tuning and Optimization
- Experiment with different antenna configurations to optimize WiFi range and accuracy.
- Implement additional features or functionalities in the code to enhance the device’s capabilities.
- Test the device in various scenarios and environments to ensure its reliability and effectiveness.


Congratulations! You’ve successfully built your own Enhanced AirTag with extended range capabilities. With its comprehensive tracking data and affordable price, this DIY project is sure to revolutionize the way you track your belongings. Enjoy peace of mind knowing that your keys, bags, and other valuables are always available.
Below You can check the Complete Video Tutorial to make this Low-cost AirTag from the Scratch.
The post Low-Cost Long Range Air-Tag using Indusboard appeared first on Electronics For You.
View more at https://www.electronicsforu.com/electronics-projects/airtag-indusboard-diy.
Credit- EFY. Distributed by Department of EEE, ADBU: https://tinyurl.com/eee-adbu
Curated by Jesif Ahmed